This is ONLY for upgrading from V5 to V6. If you are already on V6, please follow the original upgrade guide.
Before performing an upgrade, make a backup of your SocialEngine files and database. Most hosting providers include a backup utility with their control panel software. If you are not sure how to make a backup of your SocialEngine database and files, please contact your hosting provider and have them assist you with this. Alternately, refer to our Making and Restoring Backups article for assistance.
V5
- Download this patch. Unzip the patch, open the folder, and upload the files to your server, overwriting the files. This should be uploaded to the location on your server where SocialEngine is installed (in most cases, this is the public_html, httpdocs or other main folder).

- Upgrade the PHP version on your server to PHP 8.0. Note that your site front end will not work once this is done until you finish the upgrade steps.
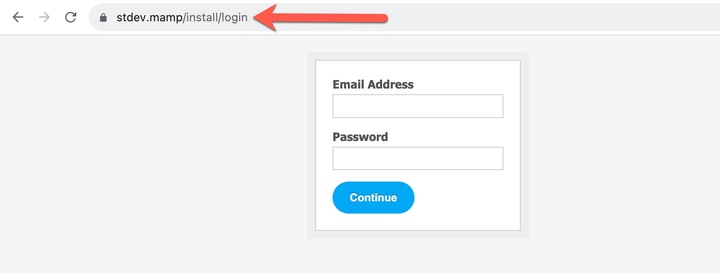
- Go to https://domain_name/install/manage and log in to the website from here with your super admin user.
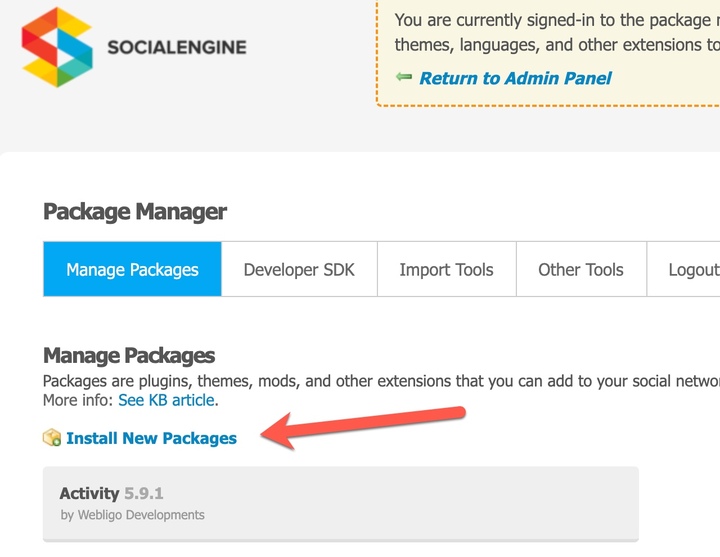
- Click "Install New Packages".
- Click "Add Packages" and upload the upgrade .tar file that you downloaded from the client area.
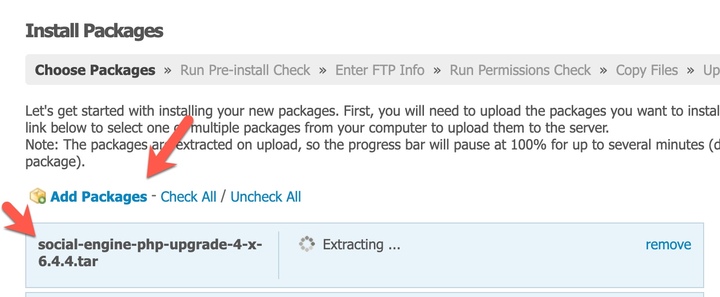
** NOTE: SocialEngine upgrade packages have a .tar extension. If you see a .zip file, you are not using the proper upgrade package and will need to download the correct file from the client area.
- Follow the on screen guide to upgrade SocialEngine PHP. Note that if you have made any changes to your SocialEngine files, the wizard will detect these changes and offer you the opportunity to overwrite or skip the modified files. Selecting the "overwrite" option will eliminate any changes you have made to those files. Selecting to "skip" the files will leave those files completely un-touched. Keep in mind that if you "skip" a file, any bug fixes that the upgrade would have provided will not be applied. If Upgrading and keeping customizations, make a list of all modified files and manually apply updates to those files, or seek help from an Expert. As there were security fixes, you need to ensure you update ALL files.
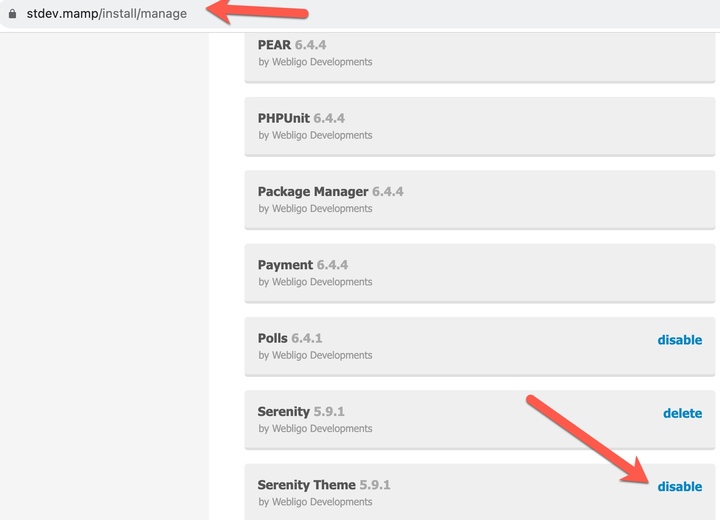
- Disable the Serenity Theme from the manage package section.
- In the admin panel, navigate to Appearance > Themes and Activate the Elpis Theme https://domain_name/admin/themes
- Setup Landing Page of Elpis Theme From here https://domain_name/admin/elpis/settings
- Upgrade all SocialEngine plugins. Do not yet upgrade third party plugins if you have some. You'll need to get with your third party experts for help to finish upgrading those.

