
Notifications
Firebase Cloud Messaging (FCM) is a cross-platform messaging solution that lets you reliably deliver messages at no cost. Using FCM, you can notify a client app that new email or other data is available to sync. You can send notification messages to drive user re-engagement and retention. You need to configure FCM for the Web Push Notifications by getting Configuration Object and Firebase Private Key which you need to enter in the admin panel of Web & Mobile Browser Push Notifications Plugin.
So, here are the steps which you need to follow to get the Firebase API Keys for Web & Mobile Browser Push Notifications plugin to work:
1. Go to the Google Firebase Console.
2. After Signing in into the Firebase Console, Click on “Create a Firebase project” Tab.

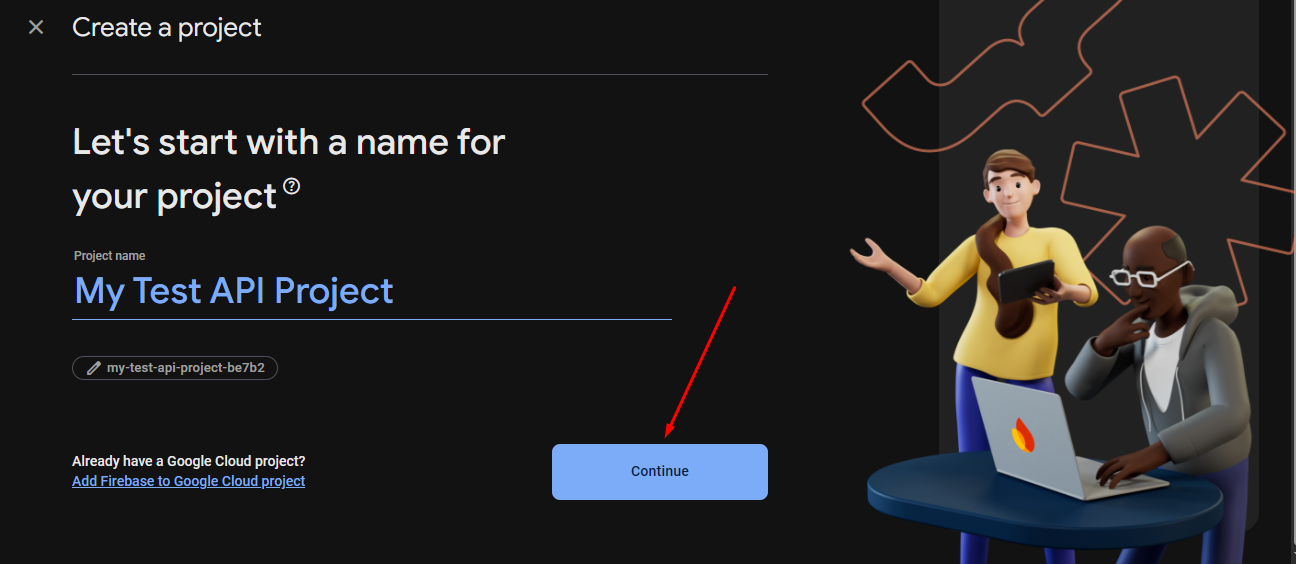
3. Enter the Project Name for creating the Project and then click on “Continue” button.
4. You will be redirected to enable Gemini in Firebase. Here, click on the Continue button.
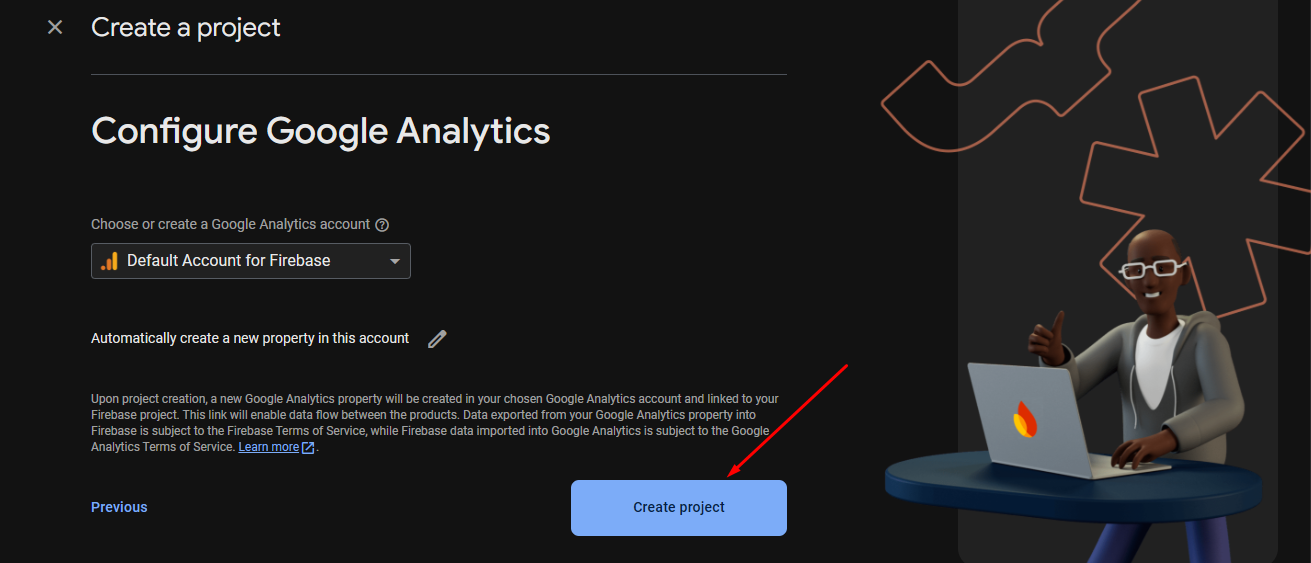
5. Now, you will be redirected to enable Google Analytics for your project. Here, click on the Continue button and select a Google Analytics account and click on the Create Project Button.
6. Now, your project will be created. Now, click on the Continue button.

7. You will be redirected to Project console where you have to Click on the code Icon “</>”.

8. After that you have to “Add Firebase to your web app” by registering the App with the “Nickname”. Here, Click on the Register app button and then click on the Continue to the console button.

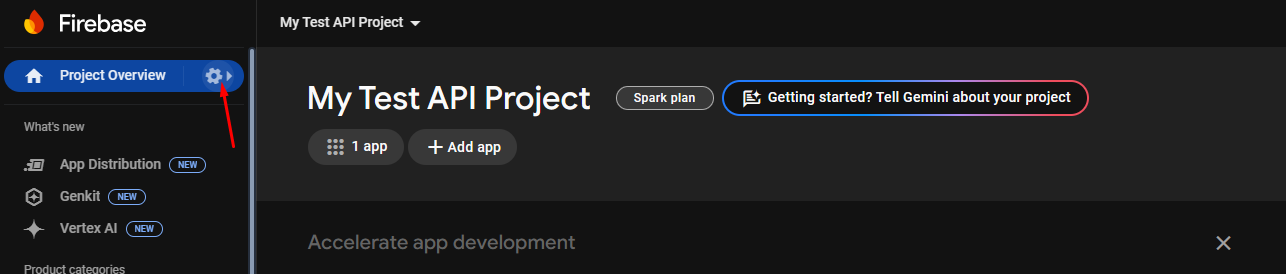
9. After registering the App, you will be redirected to your projects overview page. Here, click on the Projects Setting button.
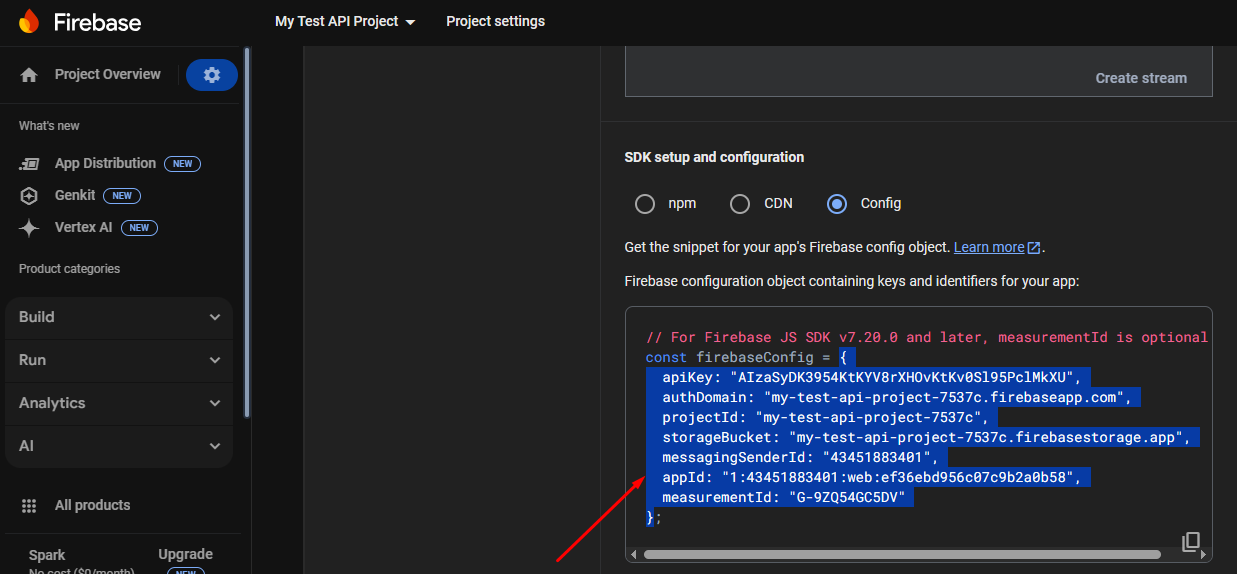
10. Now, you will be redirected to the General settings page. Here, scroll the page and click on the Config option and copy the code from curly bracket to curly bracket only and paste in the “Configuration Object” field in the Admin Panel.
11. Go to the “API Settings” tab in the admin panel of this plugin and enter the code. 
12. After that click on the Service accounts tab. Here, scroll the page and click on the Generate new private key button.

13. Now, a .json file will be downloaded. Open that file in any editor and copy the code.
14. Again go to the “API Settings” tab in the admin panel of this plugin and paste the code in “Firebase Private Key” field. 
12. After that click on “Save Change” button in the Admin panel of this Plugin.
You are good to send and receive push notifications on your website.