Notifications
 Filed in Overview
#SocialEngine
#Tutorial
#Collection
#Save Post
#Save
#Unsave
116 views
Filed in Overview
#SocialEngine
#Tutorial
#Collection
#Save Post
#Save
#Unsave
116 views
The Add to Collection & Save Post feature allows members to save content they want to view later. Saved items are organized into their personal collections, making it easy to access them at any time.
Members can save supported content such as blogs, groups, events, music, videos, classifieds, listings, and other eligible content available on your community.
To Configure These Settings
Sign in to your Admin Panel.
Navigate to Settings < General Settings.
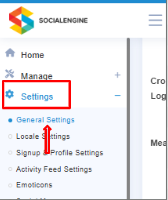
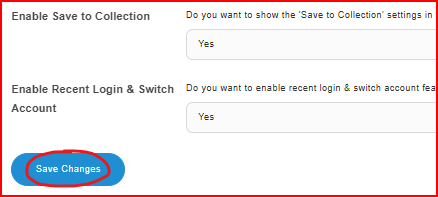
Locate the Enable Save to Collection option.

Enable the setting to Yes or No.

Click Save Changes.
For this example, we will save a post from the Activity Feed to see how the Save to Collection feature works for users.
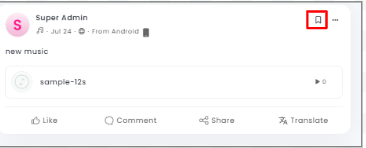
A pop-up window will appear that will allow you to add the post to an existing collection or create a new one.
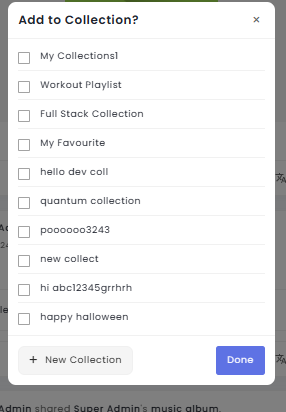
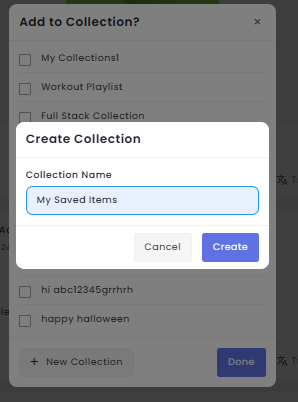
To create a new collection, enter a name in the Collection Name field and click New Collection. The post will be added to the newly created collection. Click Cancel if you do not want to save the post.
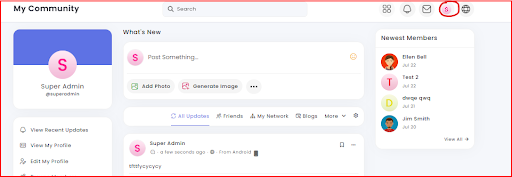
Next, click your Profile from the header menu.
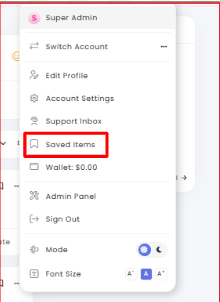
A drop-down menu will appear. Select Saved Items.
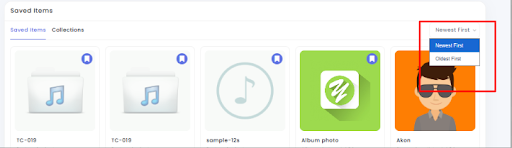
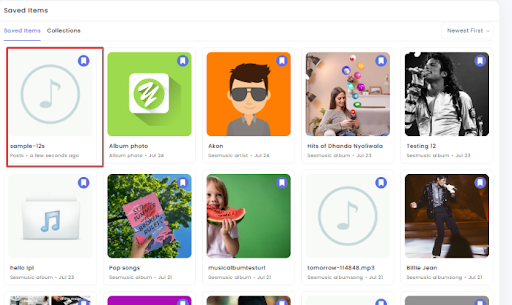
The Saved Items page will open, where you can view all the content you have saved. In this example, the saved music post is displayed which we did earlier.
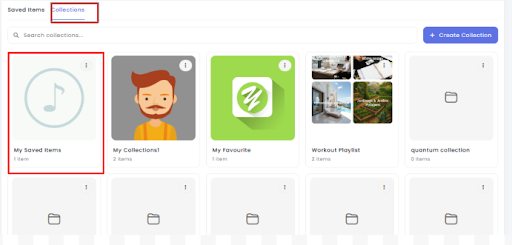
Switch to the Collections tab to view all the collections you have created. You can also create a new collection from this page.
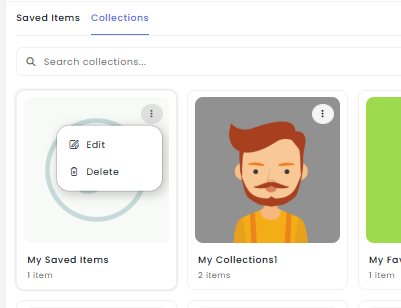
To manage a collection, click the available options to Edit the collection name or Delete the selected collection.
You can also sort your saved items using the available filters, such as Newest to Oldest, to find recently saved or older saved content.