SocialEngine has a feature that allows you to create beautiful banners as well as text and a call to action (CTA) button in just about any location you would like. You can use banners to add some pizzazz to your site, you can monetize by selling banner spots (manually with Paypal or your favorite payment processor), you can even use the CTA function to increase site activity. These are just a couple examples of what you can do with the new banners feature and this tutorial will show you how to set everything up!
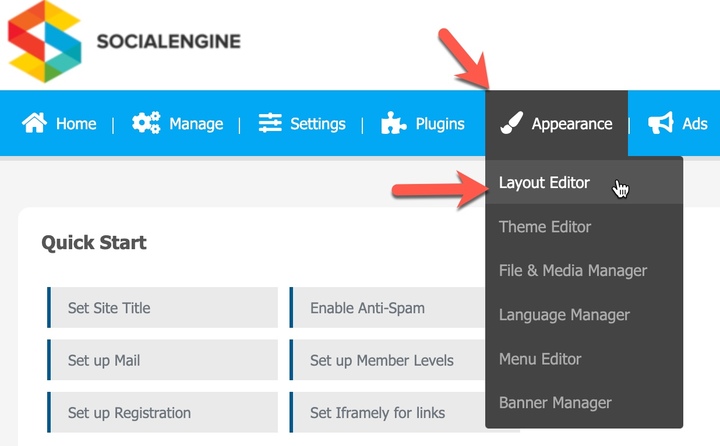
In order to manage banners, you’ll need to be logged in with an Admin or Super Admin account. In your Admin Panel, navigate to Appearance > Banner Manager.
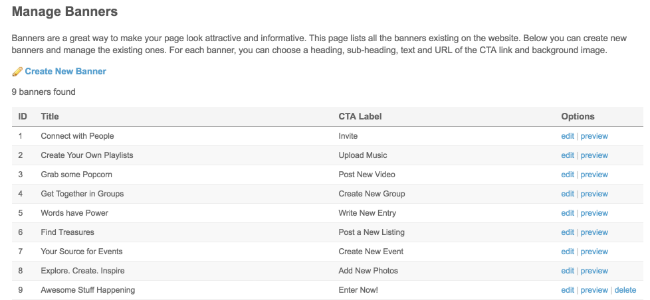
Manage Banners
The “Manage Banners” page will show a list of all of the banners on your site.
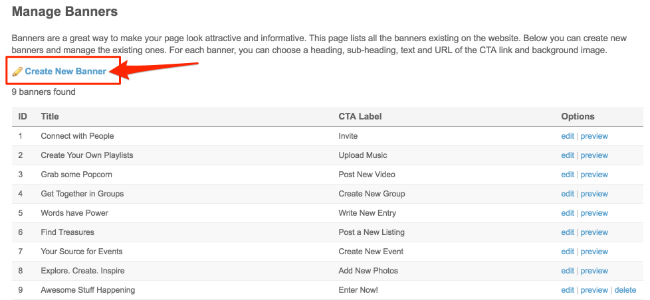
Creating New Banners
- To add a new banner, click the “Create New Banner” link.
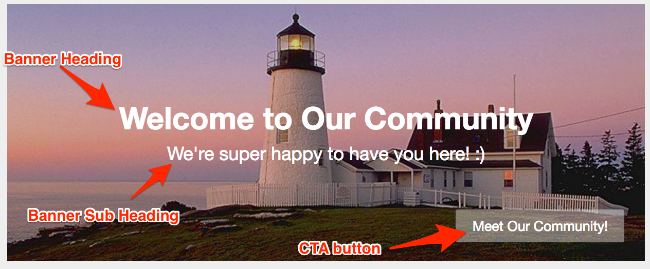
- Add the “Banner Heading” which will show in large, bold print on the banner. *See image after these steps.

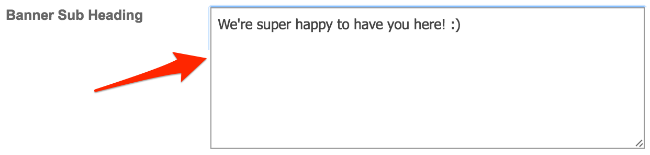
- (Optional)Add the “Banner Sub-heading which will show in smaller font under the “Banner Heading”.
- (Optional)Choose a “Banner Image” by clicking the “Choose file” button and selecting an image to upload from your computer. Please note that the recommended size for the image is 1200px x 300px.

- (Optional)Enter the “CTA Button Label” text that will show on the button in the lower right corner of the banner.

- (Optional)Enter the “CTA Button URL” where you would like to redirect the member when they click it. Click the “Create Banner” button when done.

Here is what the banner looks like with all of the above steps completed. Note that we’ve added some text to highlight the features.
Editing Banners
To edit a banner, click the “edit” link in the Options column to the far right of the banner.

The edit page will have the same options as shown above for creating a banner. Please be sure to click to “Save Changes” after you are done editing your banner.
Previewing Banners
You can preview your banner so that you can check it before you place it on your site pages. To preview a banner, click the “preview” link in the Options column to the far right of the banner you want to view.

A popup will open that shows you how your banner will look. If you don’t see a popup, you might need to enable popups for your browser.
Deleting Banners
To delete a banner, click the “delete” link in the Options column to the far right of the banner that you want to delete.

A popup will open asking you to confirm that you want to delete this banner. Click “Delete Banner” to delete it.
Placing or Moving Banners
- To place or move the banners on your site, you’ll need to do that from the Layout Editor as you would place other blocks or widgets on your site. Navigate to Appearance > Layout Editor.
- Choose the page that you want to place or change a banner on. Our tutorial is using the “Landing Page” as an example. To move or remove a banner block, please see the Layout Editor tutorial.

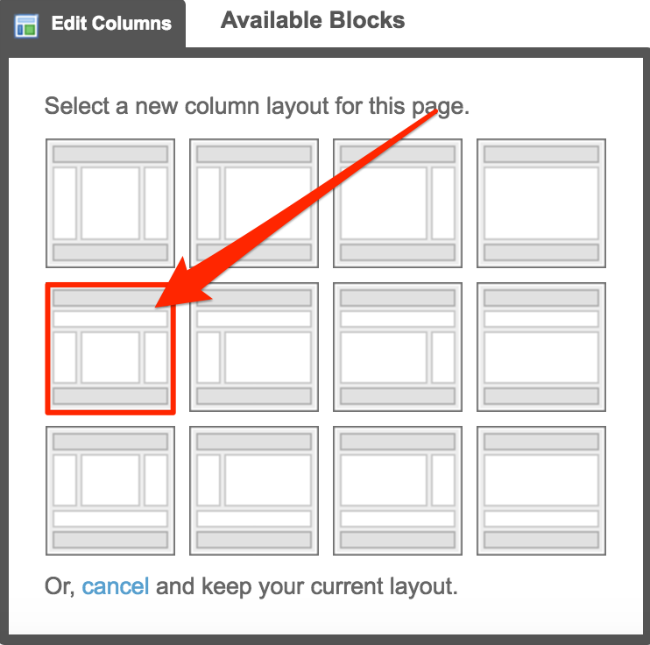
- If you want the banner to be full width above the rest of the content, you’ll need to edit the page layout by clicking “Edit Columns.” *If you don’t want to change the layout, please skip to step five.

- Select a layout that allows a top block position such as the one we show here:
You can now place the banner as shown in the steps below.
- On the right, under “Available Blocks” scroll down until you see “Banner.”
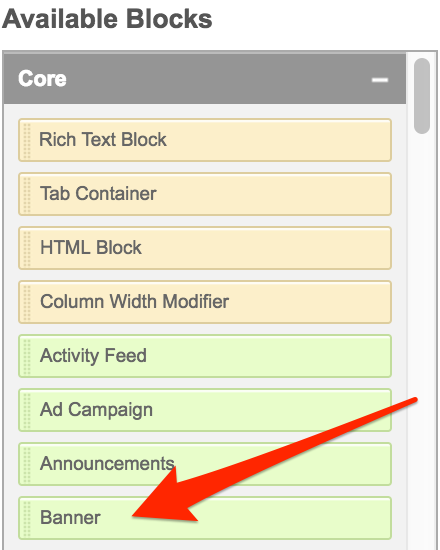
- Drag it to the left where you want it placed.
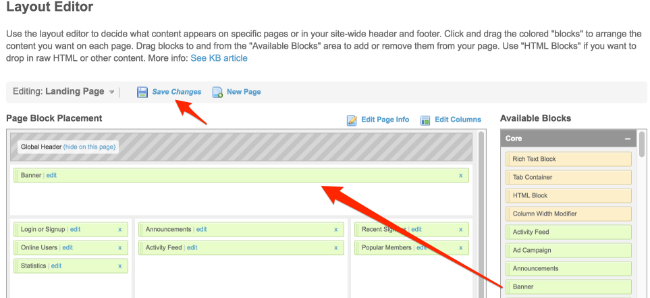
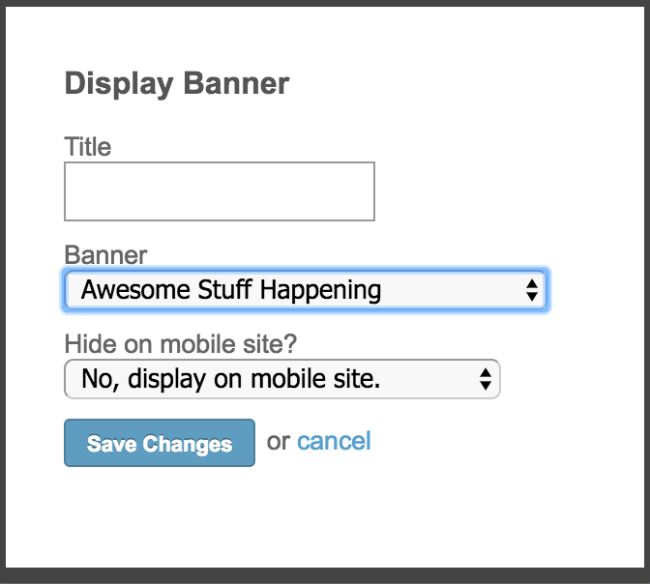
- A popup will open that allows you to set a block title (optional) and to choose which of your banners you want to use in this block. Select a banner and click “Save Changes.”
- Click “Save Changes” when you are done placing banners.

A Few Ways You can Use Banners
Banners are quite versatile. These few suggestions are just the tip of the iceberg!
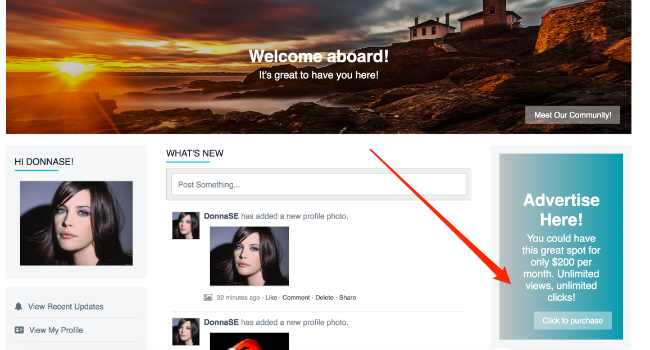
- Add some pizzaz to your site with banners. You can really create a “wow” factor by adding some eye catching banners in open spaces on your site. Here’s an example:

- Monetize! You could charge for banner spots on your site. If you have Paypal, you could just create a payment button that lets people purchase banner space. This would be manual for you to add the banners after, but it could allow you earn.
- Show off your popular members and get members interacting on your site in order to get that featured spot. You could easily create a banner from your member’s profile images and set it right on the home page! Members love to get attention in most cases.

