Displaying Advertisements is an excellent way to monetize your social network. By creating Ad Campaigns, you can determine exactly where your Ads will appear; how long they will be displayed; and who they will be shown to. The key to generating substantial revenue from your social network is to create targeted Ad Campaigns. This means that you should make an effort to show specific Ads to members based on their interests or personal characteristics (e.g. their profile information). To accomplish this, Ad Campaigns can be created for specific Member Levels and/or networks.
Create New Campaign
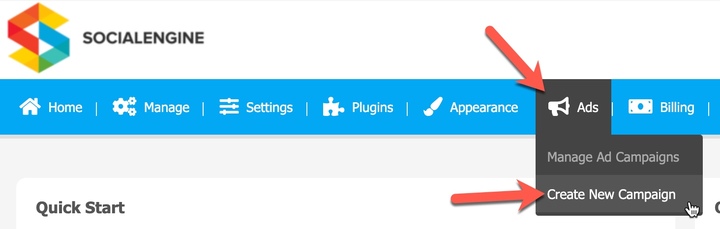
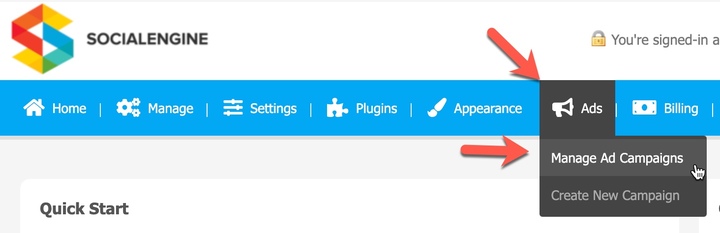
- To create a new Ad Campaign, in your Admin panel navigate to Ads > Create New Campaign.
- The form that shows up has several important fields.
Campaign Name
The name of your Campaign. This name will only be seen by administrators that have access to the Admin Panel. Give a name that will allow you to differentiate this Campaign from other Campaigns you may create.
Start Date
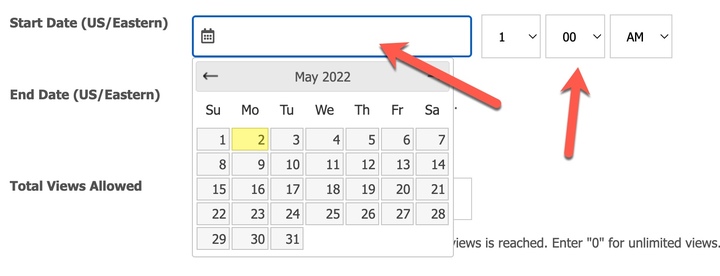
Select a starting date for this Campaign to start showing on your site. Clicking in the input box next to the calendar button will open up a calendar, allowing you to choose a date.
Click on the arrows for each of the drop down menus to select the hour, minute and AM/PM for the date that you want the Campaign to start appearing on your site.
End Date
Choose whether this Campaign will have a specific end date and time or not.
If you select the “Don’t end this Campaign on a specific date” then the Campaign will appear on your site until you select a different Campaign, delete this Campaign, the Total Views Allowed or Total Clicks Allowed have been reached. Selecting the “End this Campaign on a specific date” will cause a calendar and drop down menus like the ones shown for Start date to appear, allowing you to select the last day and time the Campaign will appear on your site.
Total Views Allowed
Enter a number for the maximum views allowed on this Campaign. When the number of Campaign views reaches this number the Campaign will end, regardless of what you have specified as the end date above. If you don't want to put a limit on the number of views, enter "0" here.
Total Clicks Allowed
Similar to the "Total Views Allowed" option, you can set the maximum for the number of clicks this Campaign gets. When the number of clicks reaches this number the Campaign will end, regardless of what you have specified as the end date above. If you don't want to put a limit on the number of clicks, enter "0" here.
Minimum CTR
CTR stands for "Click-Through Ratio", or the ratio of clicks to views. If you choose to enter something here, the Campaign's CTR will need to stay ABOVE the level you specify. If it drops below your limit, the Campaign will end. To specify a minimum CTR, enter it as a percentage of clicks to views (ex: 0.05%). Leave this option blank if you don't want your Campaign to be dependent on its CTR.
Member Levels and Networks
Select which Member Levels and Networks that you want this Campaign to be shown to. You can select multiple Member Levels and multiple Networks, or choose to leave either option blank.
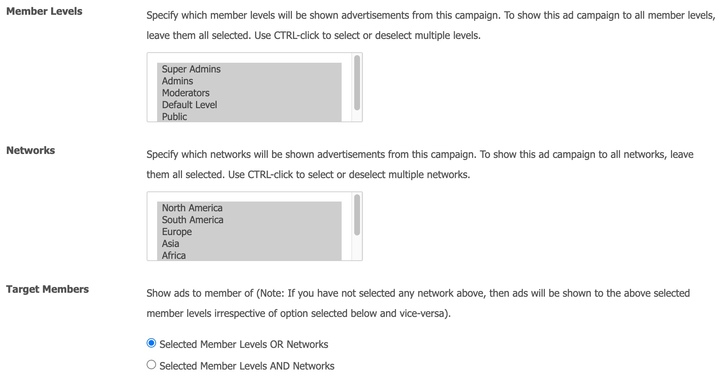
Choose the Target Members. You can choose to limit the ad to show to members in the Member Levels OR Networks you selected. In the example above, a member who is in the Default Level, but not in the North America Network AND a member who is not in the Default Level but is in the North America Network will see the Ad. In other words, a member only needs to be a part of one of the selected items to see the Ad.
If you want to limit the ads to only show to members who are in the member level AND Networks, choose the second option above.
Click the "Create Campaign" button at the bottom of the form to save your changes.
Create Advertisements
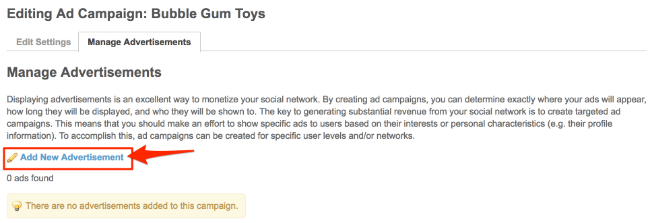
After you submit the form to create your new Campaign, you'll be taken to a section to manage your Advertisements.
- A newly created Campaign won't have any Advertisements to manage, so you'll need to add one! Start by clicking the "Add New Advertisement" link on the Manage Advertisements page.
- You'll be taken to a form where you’ll enter a name for your advertisement. You'll also have two options for “Advertisement Media”.
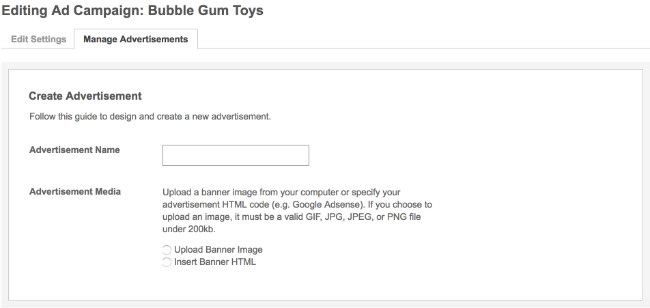
Upload Banner Image
The first option allows you to upload an image from your computer as a banner. When you select this option, a link to "Add Photos" will appear. Click the link and select a banner image from your computer to upload.

When the file is done uploading, a text box named "HTML Code" will appear with code.
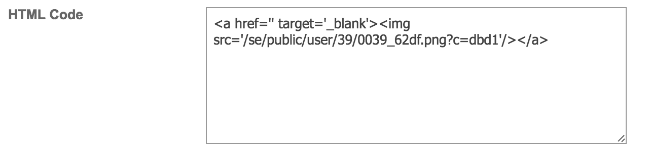
This HTML code is your banner with link code around it. You will need to specify where you want the Ad to direct the member when they click on it.
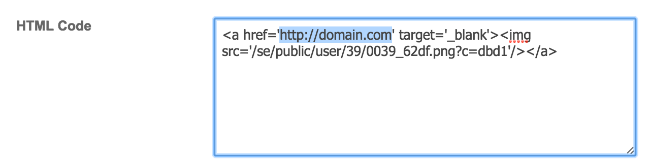
In the above screenshot, we’ve added the URL and highlighted it. "http://www.domain.com" is where you want the Advertisement to take the member.
Insert Banner HTML
The second option allows you to simply copy/paste the HTML for your Ad into a text area that appears when you select this option. You should use this option if your are using Google Adsense or another third-party Ad network.
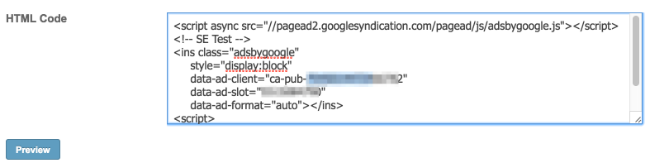
Preview and Save
If you want to preview your Ad, click the "Preview" button. When you are satisfied with your ad, click the "Save Changes" button.
To add more than one Ad to a Campaign, repeat the process above as many times as you'd like. Multiple Ads in a single Campaign will rotate evenly based on views. Ads with fewer views will be shown until all the Ads have the same number of views.
Manage Ad Campaigns
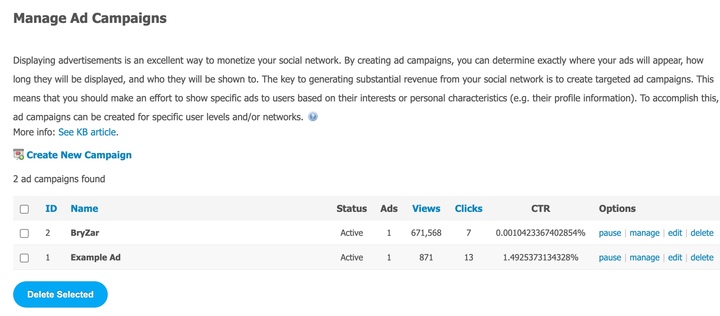
From the Ads > Manage Ad Campaigns section of your admin panel, you can manage all of your Ad Campaigns.
You'll see a list of your existing Ad Campaigns, along with their status (active or paused), number of Ads, views, clicks, and CTR. You have the options to pause, un-pause, or delete Campaigns. The "edit" link will take you to a form similar to the "Create New Campaign" form where you can edit all of your Campaign details. The "manage" link will take you to a list of the Advertisements within that Campaign - from there, you can add, edit, and delete Advertisements for that Campaign.
Placing Your Advertising Campaign
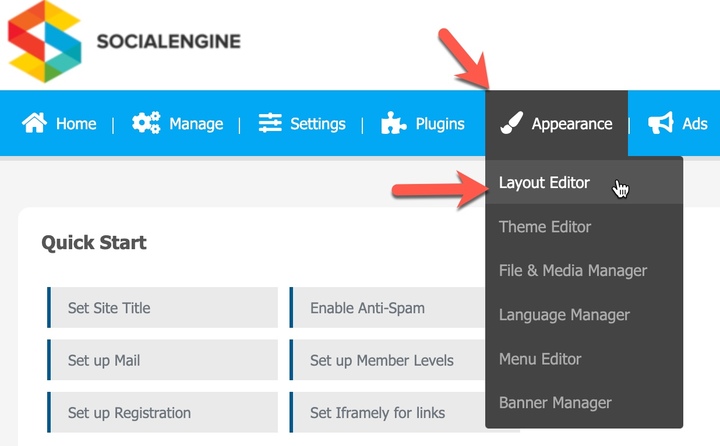
- Navigate to Appearance > Layout Editor.
- Select the page that you want to display the Advertisement on. If you would like the Ad to display on every page, select either “Site Header” or “Site Footer”.

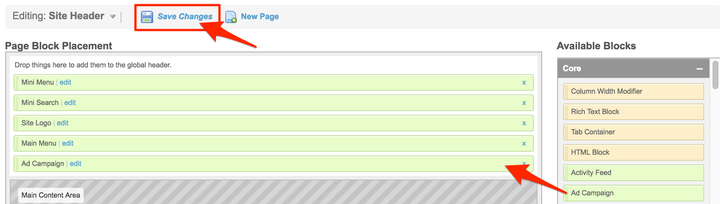
- Drag-and-drop the "Ad Campaign" widget to where you want your Ad displayed.
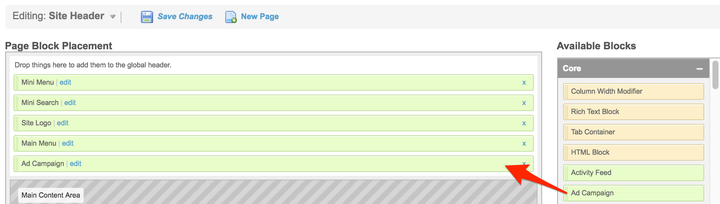
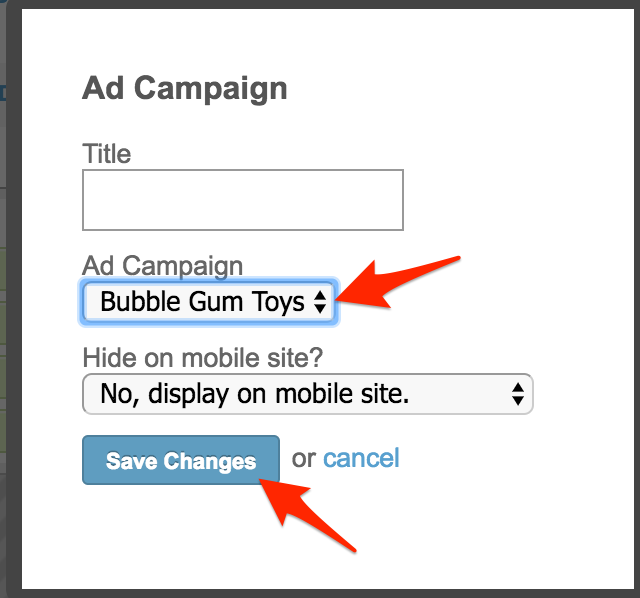
- Select your Ad Campaign from the drop down in the modal that appears. Click "Save Changes" to close the modal.
- Remember to hit the "Save Changes" button at the top of the Layout Manager to save the page layout.
Troubleshooting
If your Advertisement is not centering in your header or footer:
- Go to the ”Manage Ad Campaigns” page.
- Click on the “Manage” link next to the Campaign that you want to edit.

- Click the "edit" link next to the Advertisement that you want to edit.

- Surround the HTML for your ad with a centering div:
<div style="text-align: center">[AD HTML]</div>

