Notifications
From the “Mail Settings” menu in your admin control panel, you can set the name and email address from which you would like admin correspondence to be sent, change email queuing settings, and select which server to use for outgoing mail.
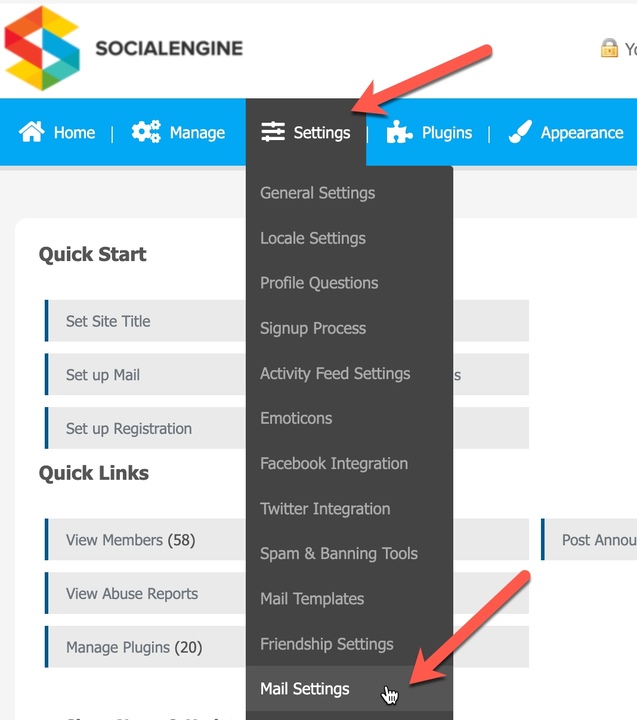
To reach the “Mail Settings” page, in your Admin panel navigate to Settings > Mail Settings.
Enter the email address you want contact form messages to be sent to when members click on the "Contact" link.
Normally the "Contact" link can be found in your footer menu of your site.
Enter the name you want the emails from the system to come from in the field below.
Enter the email address you want the emails from the system to come from in the field below. If using SMTP, this email needs to be the same as the SMTP email.
Note: This email address is not in any way connected to your contact form address or the email that will receive administrator notifications. Administrator notifications go to the first Super Administrator currently registered on your site.
The number of emails to send out of the mail queue each time the “Background Mailer” task is run in the “Task Scheduler.”
Utilizing an “Email Queue”, you can allow your website to throttle the emails being sent out to prevent overloading the mail server.
Note: When using the “Email All Members” feature in the Admin Panel, all email will be put in the mail queue to avoid flooding your system's mail server even if you have selected "No, always send emails immediately."
Select if you would like emails to be sent through the built-mail() function or through the SMTP server. We recommend sending through an SMTP server.
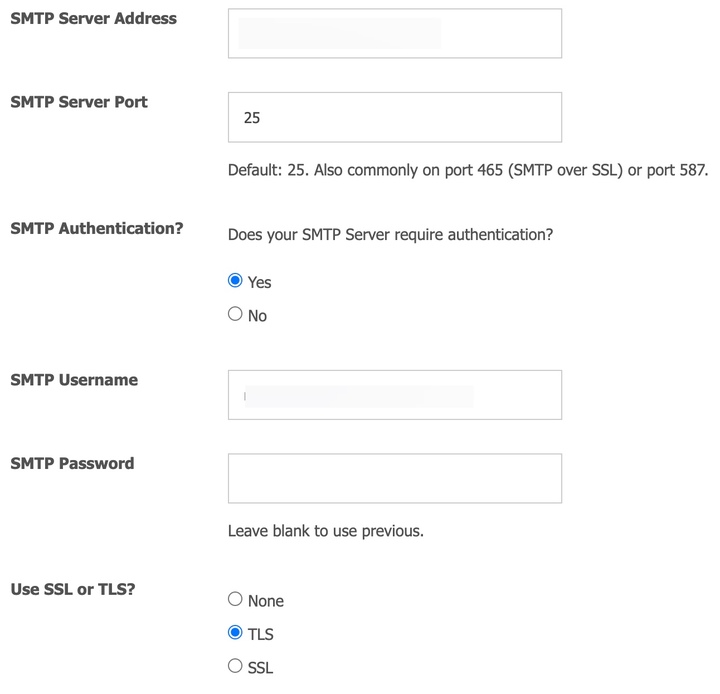
If you choose SMTP server, you’ll need to fill in the following details. You can obtain these details from your host or transactional mail service (Sendgrid, Sparkpost, etc).

If you notice that mail is not getting sent from your site. There are a couple of things you may want to check.